Working of Sqlite Recovery Software
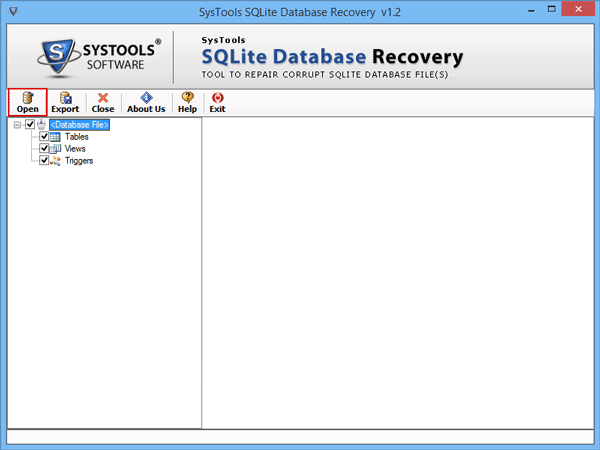
- Open Sqlite Recovery Software & click on open button to browse Sqlite file.
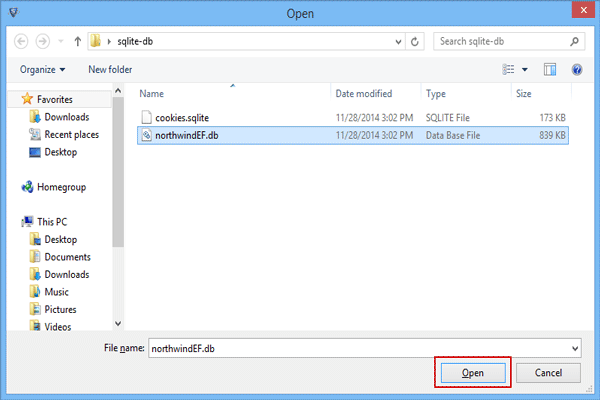
- Select Sqlite .db file & click on open button.
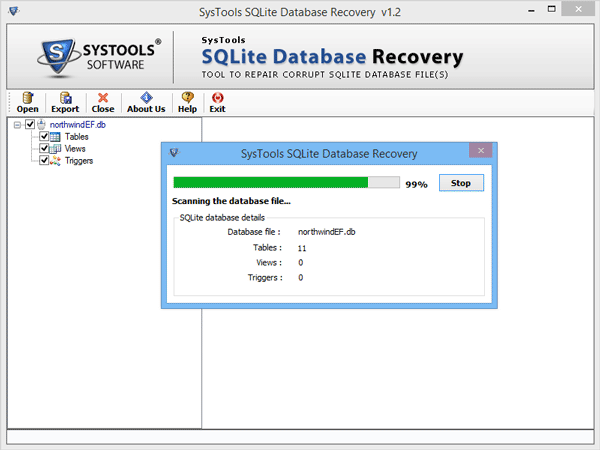
- It automatically scans your Sqlite file.
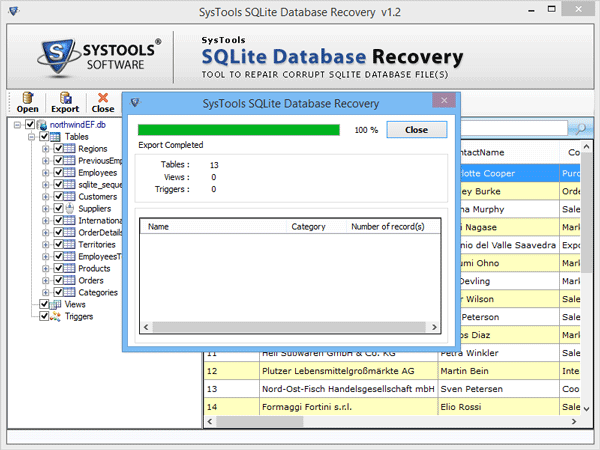
- After complete scanning process, click ok

- Preview Sqlite database details such as numbers of tables, views and triggers etc.
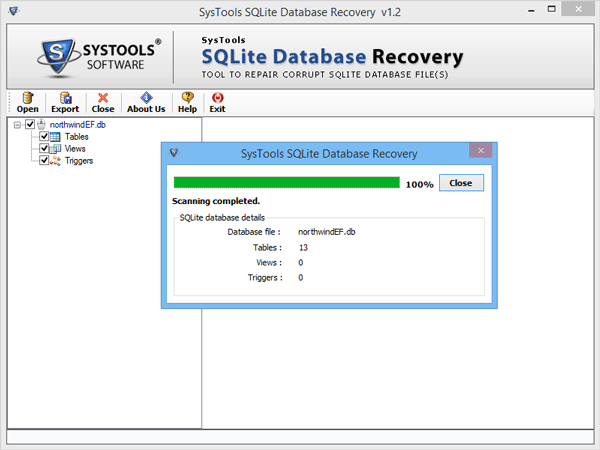
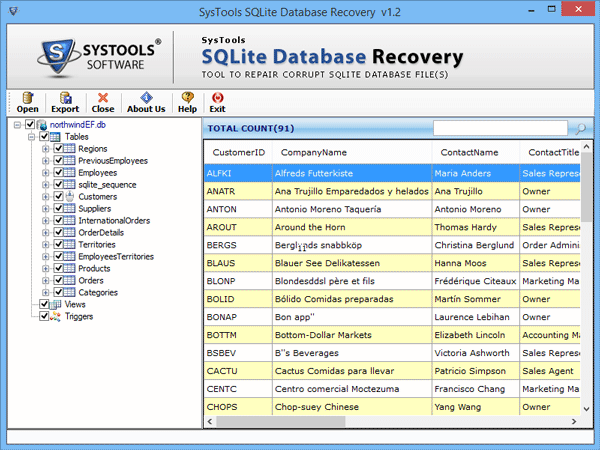
- Preview of repaired entire database of Sqlite file.
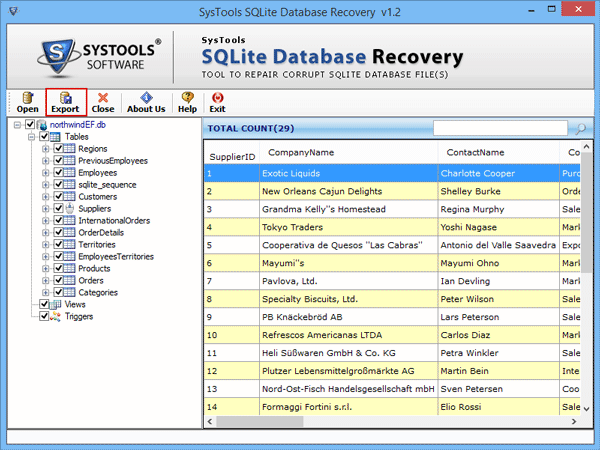
- Now click on export button to save the repaired Sqlite database.
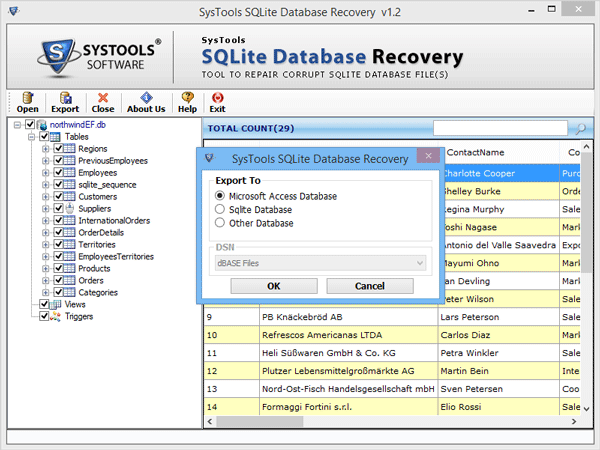
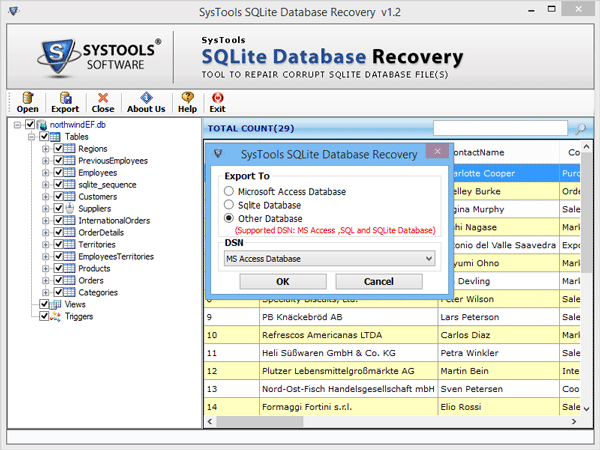
- It provides three options to export Sqlite database.
- Microsoft Access database
- Sqlite database
- Other Database
You can choose as per your requirement.
- If you choose option as Microsoft Access Database, then follow the steps.
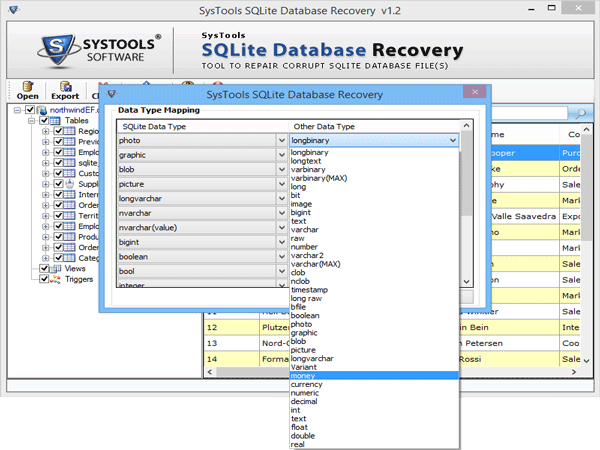
Select category goes for data type mapping.
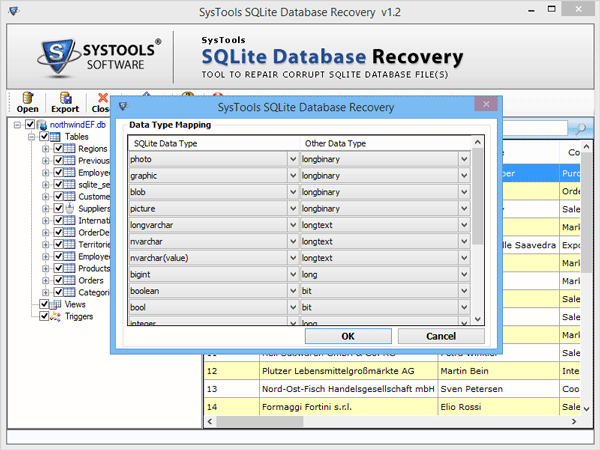
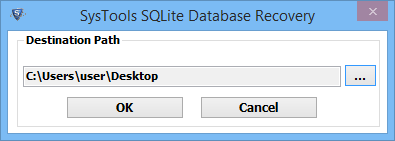
- Choose Destination Path & click on ok button
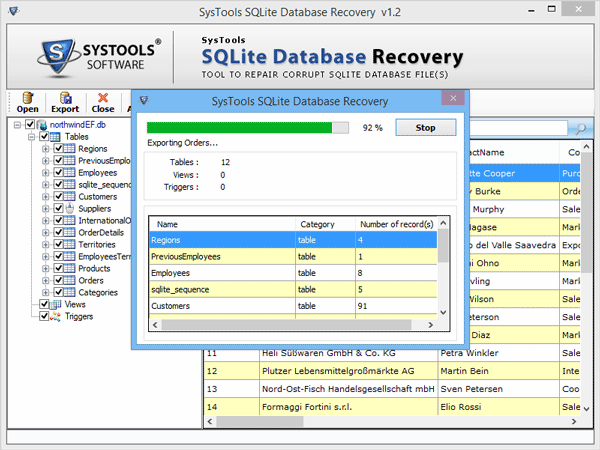
- Preview of recovery details.
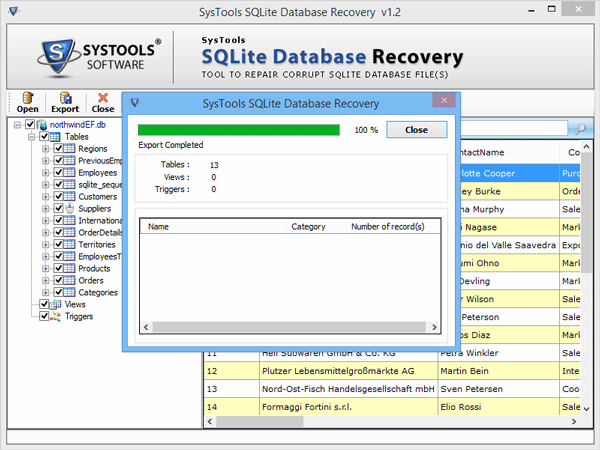
- After completed Sqlite .db file into MS access .mdf file, then click on ok button.

- After these processes click the close.
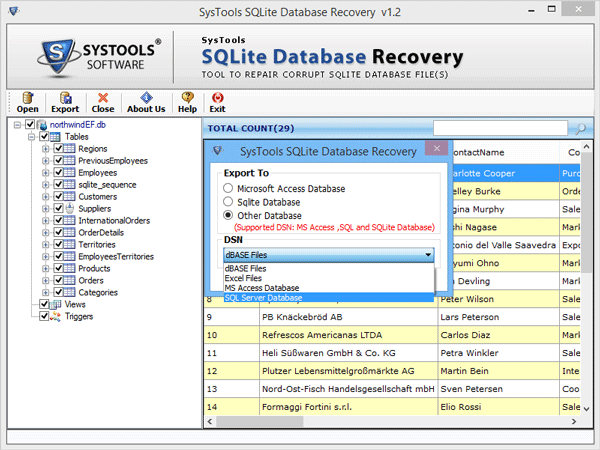
- For exporting Sqlite .db file into SQL Server .mdf file click on Other Database
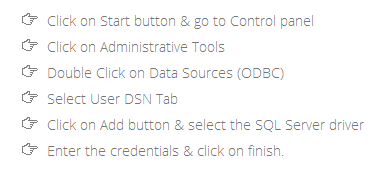
- Know how to create user DSN to export the database
- Select DSN connection and click ok.
- Select Sqlite data type and map it with the other data type.
- After completed the exporting process click on Ok Button.
