Steps to Repair Corrupt SharePoint File
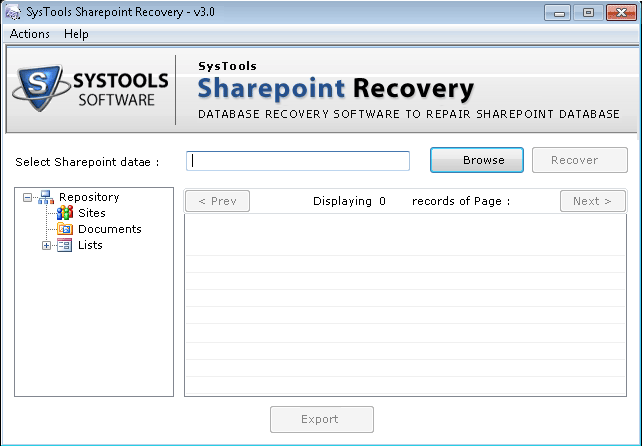
- Download the software setup >> Install & Open Sharepoint Recovery Tool
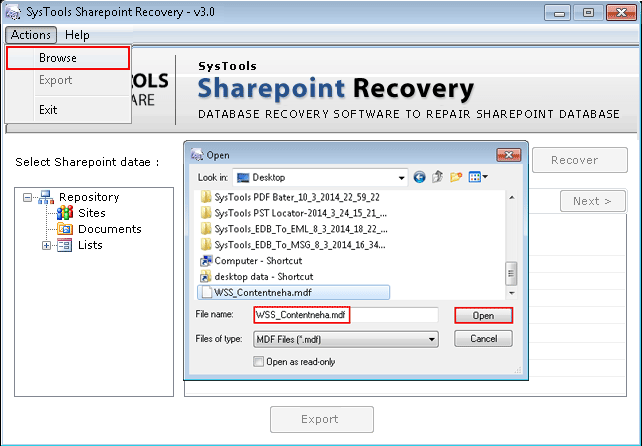
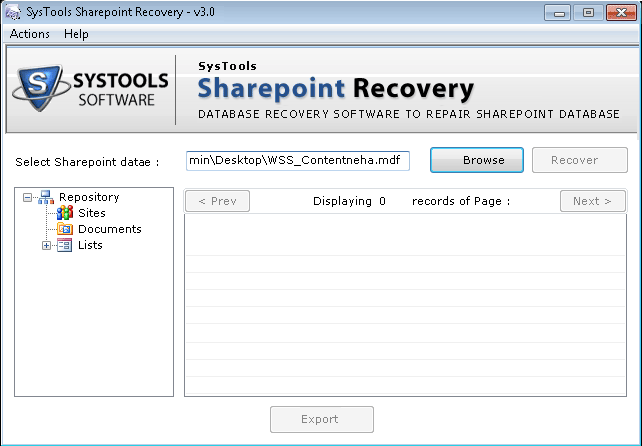
- Click on the Browse button and then select the desired corrupted or damaged SharePoint MDF file from your system and click on the Open button.
- Now click on recovery option to start the process.
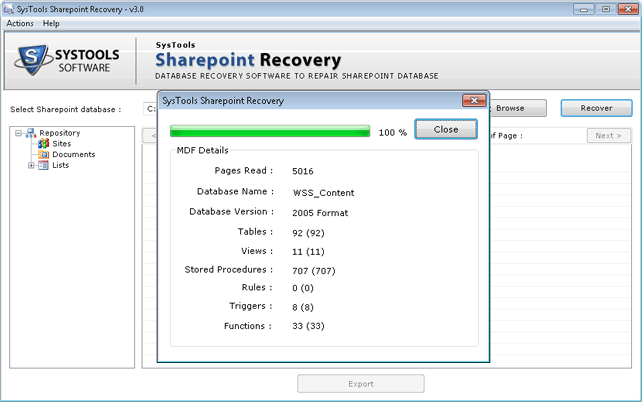
- After clicking on it the software will start the recovery process and a dialog box will appear showing the live status.
- This Software will now show the preview of all the documents of the repaired MDF file.
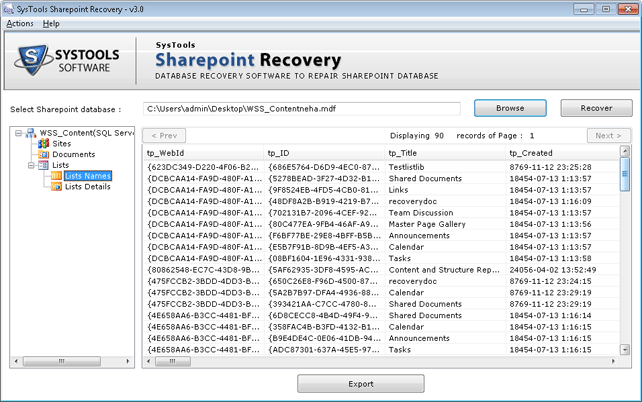
- Click on the Export button to save the repaired MDF file.
Two options will appear :
You can directly export to SQL Server Database
You can export as documents then select "Sharepoint Documents" radio button.
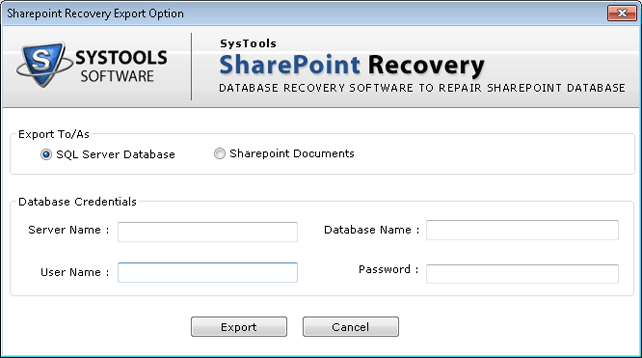
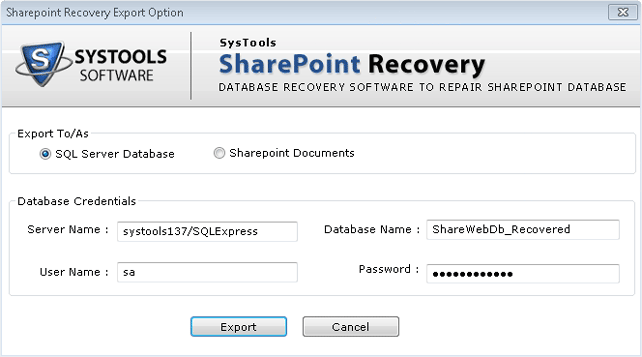
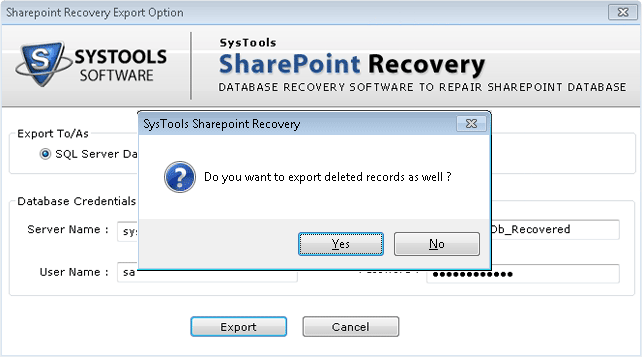
- Fill up the required Database credential and select export.
- A pop box will appear asking whether you want to recover deleted record as well.
- Now the software will show live export progress report
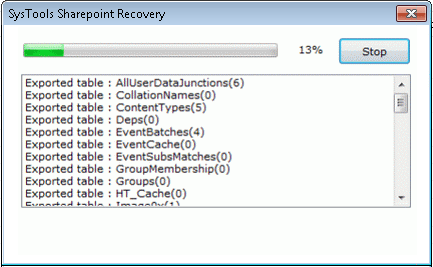
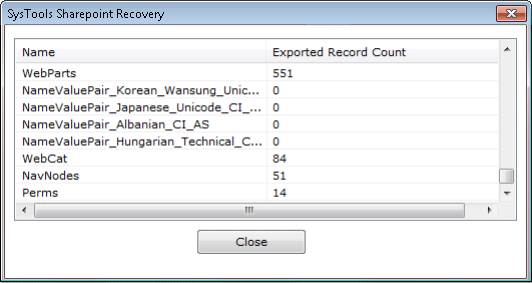
- After the recovery progress you will able to see the table names and Exported Record Count xport progress report.
