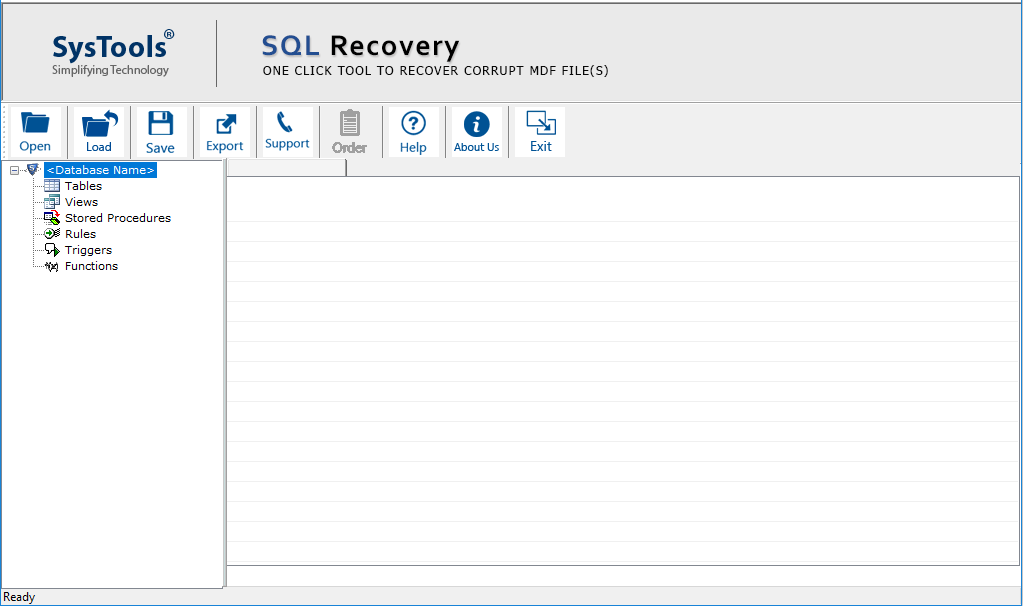
Working Steps of SQL Recovery Tool
- Download the software setup >> Install & Run it
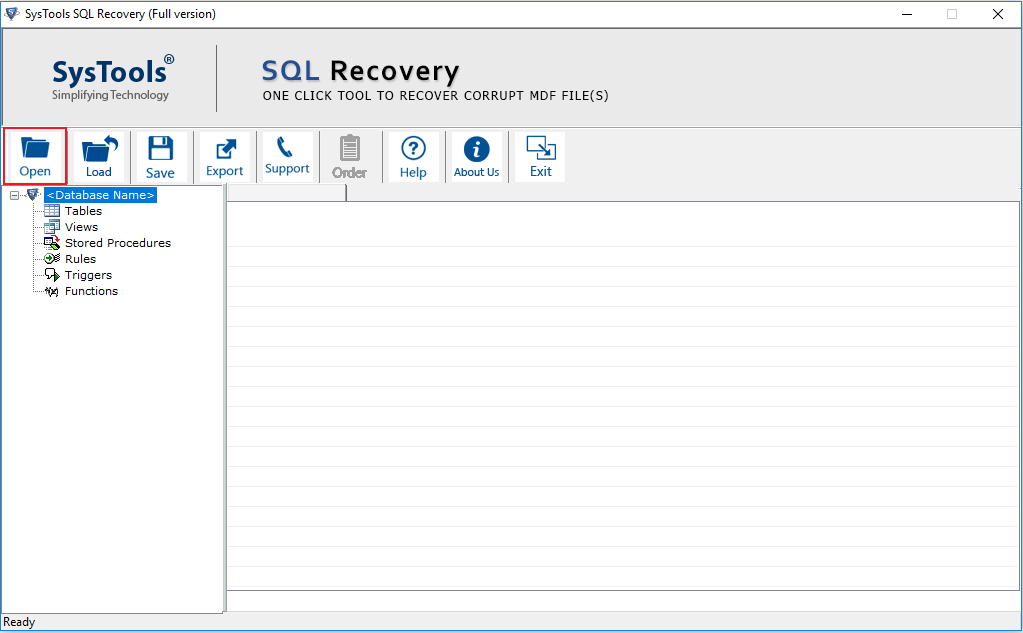
- Click on Open button, to select the MDF file. Then software will display following screen:
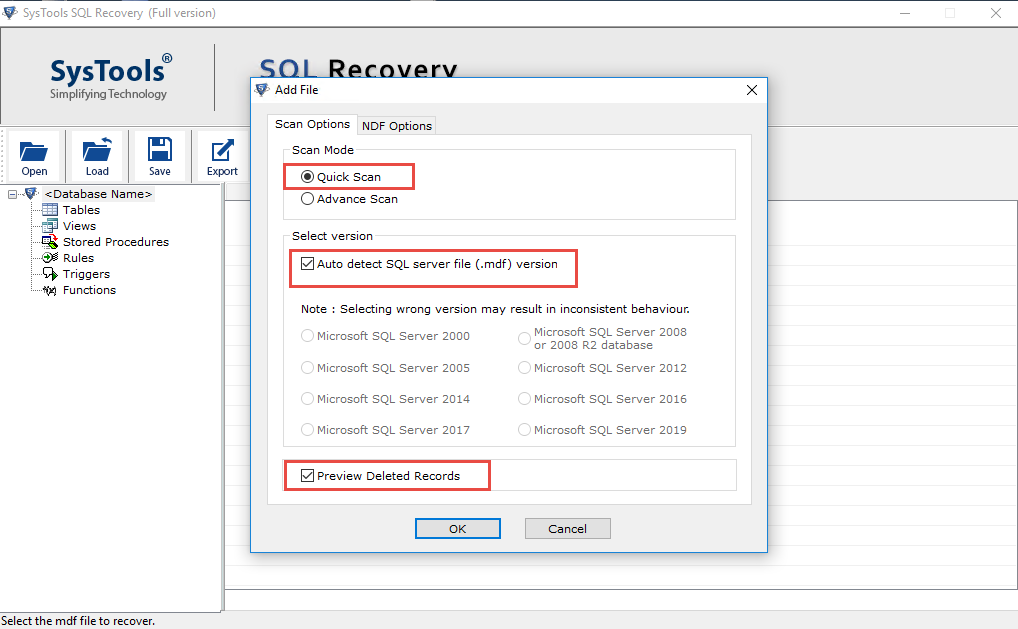
- Now select the Scan Options and Version of SQL Server. The user can also check the option preview deleted SQL records to preview the database records in red color.
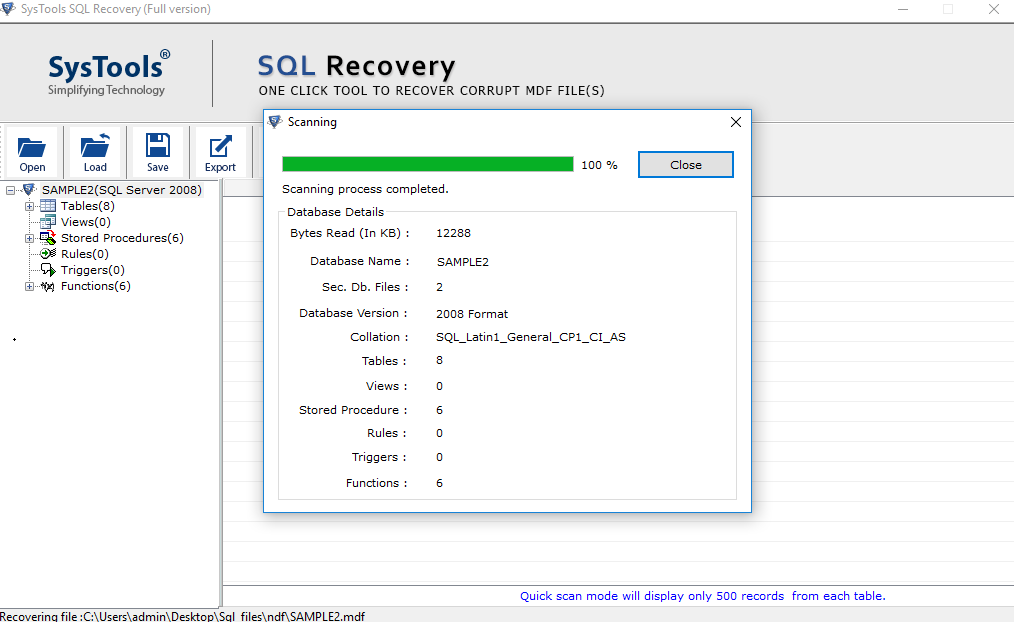
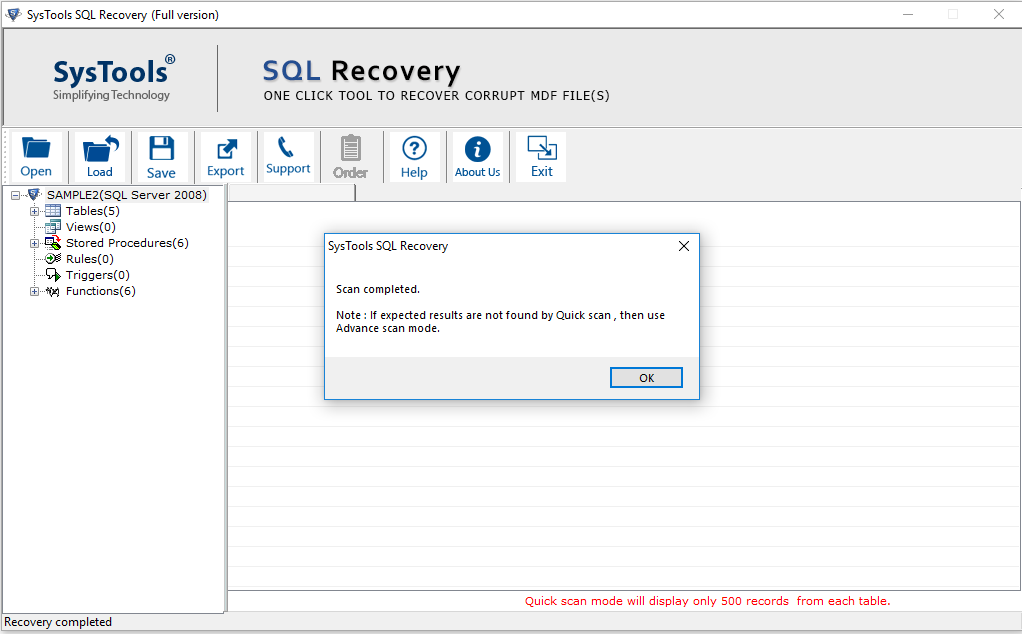
- The Tool will starts the scanning process.
- Software will display message if the expected results are not found by Quick Scan mode then choose advanced Scan.
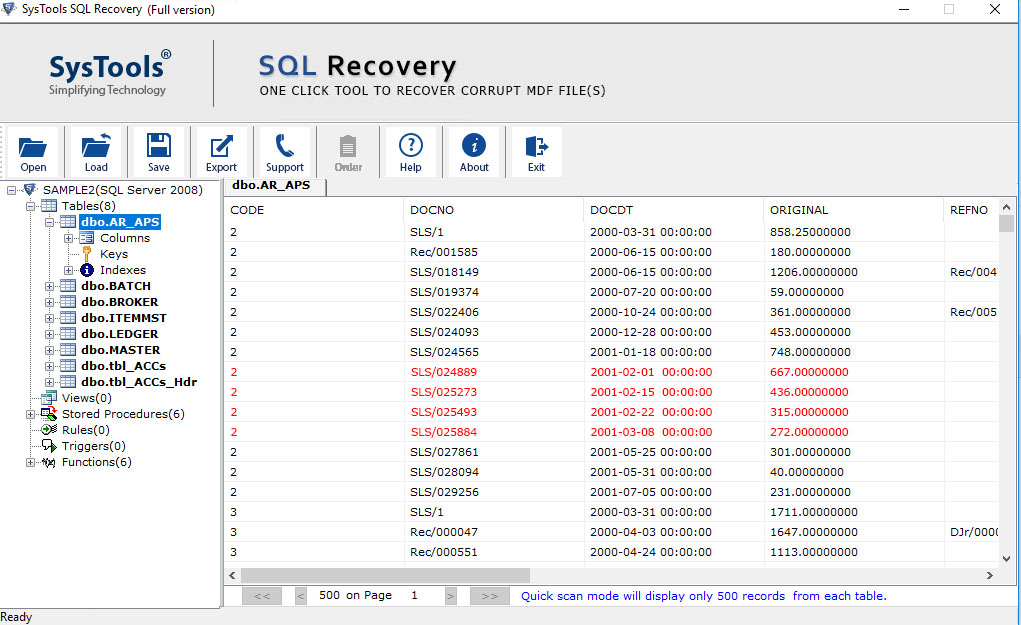
- Preview SQL database objects such as Table, Stored Procedure, Functions, Views, Triggers etc. This software also shows the deleted SQL table records in red color.
- Select the Option to Export SQL database to SQL Server database or SQL Server compatible scripts.
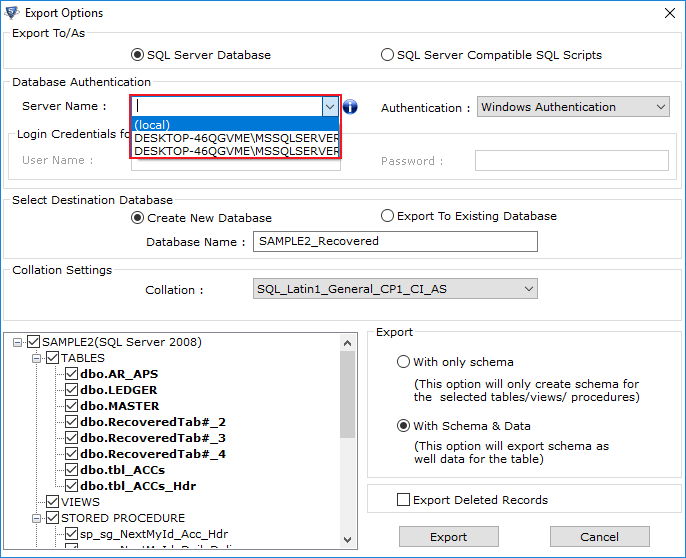
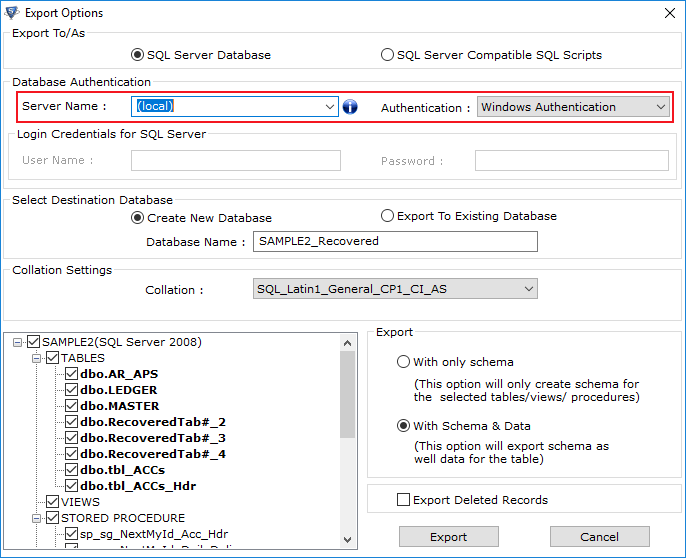
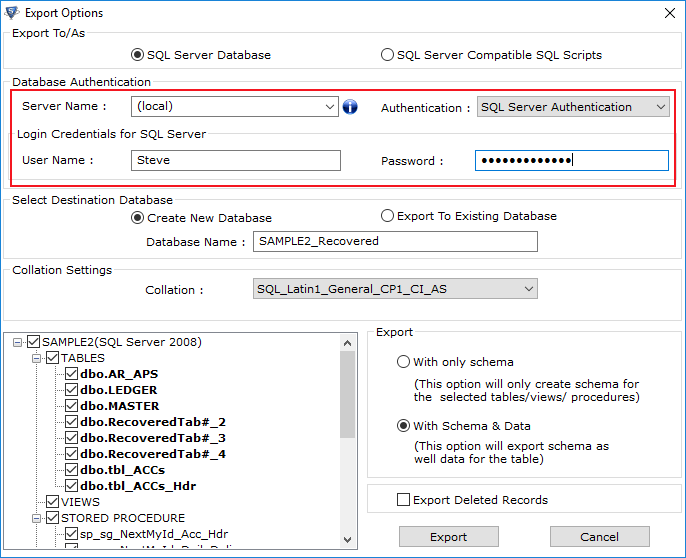
- Now In the Database Authentication Select the Server Name and Authentication Mode.
- If you are using SQL Server Authentication then enter the SQL Server Name and Login Creadentials for SQL Server.
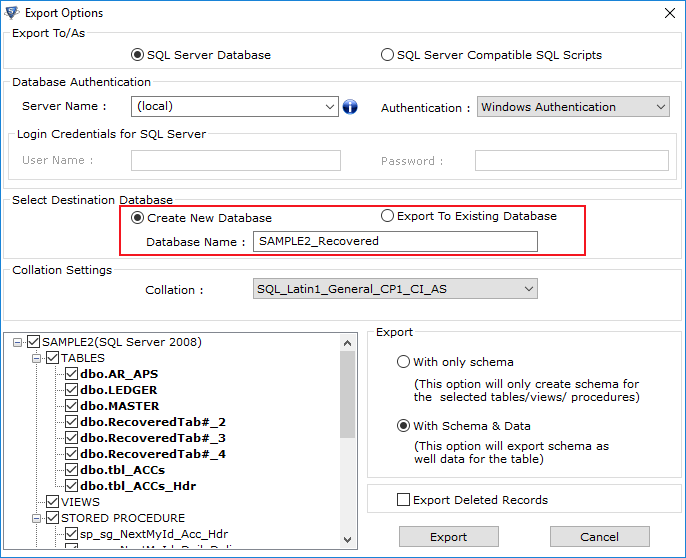
- Now Select the destination database or the user can export to existing database.
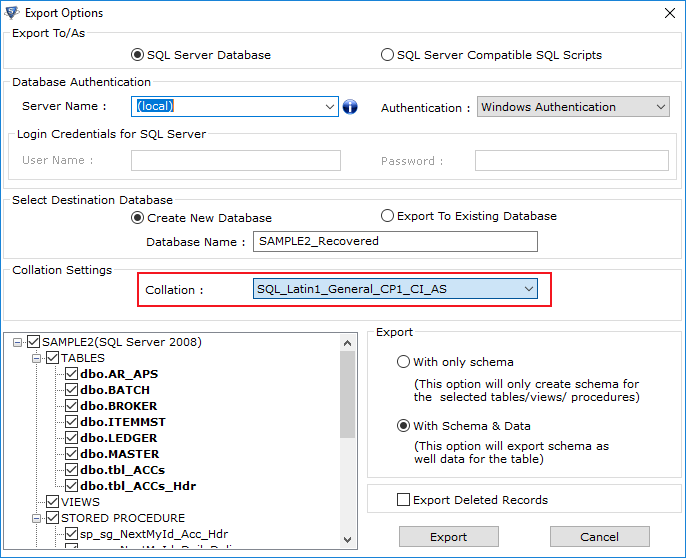
- Software Will shows the default collation type.
- Now Select the items to recover.
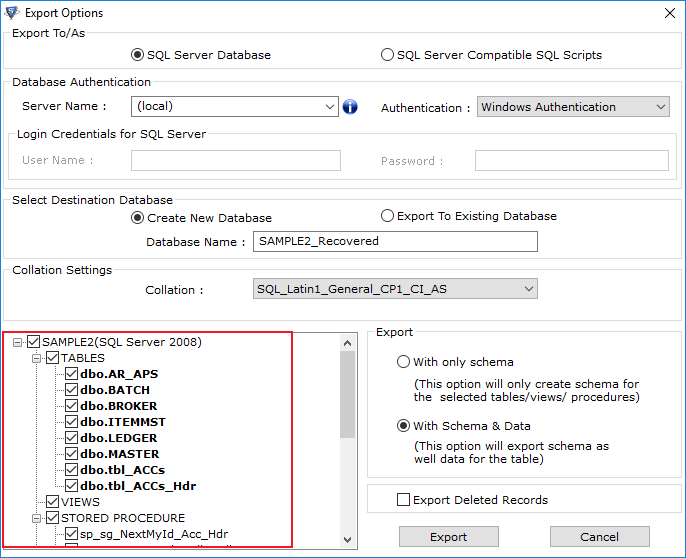
- Select the option to export With only Schema and With Schema and data.
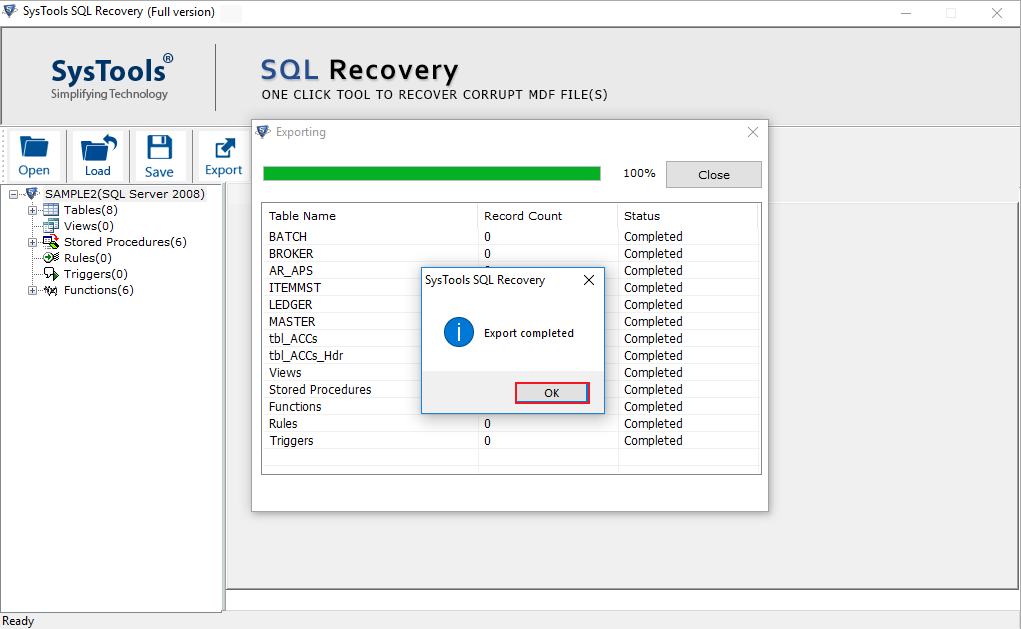
- After the completion of the Export process the Export completed message will appear.
